
Online collections
monedastodas.com
All collections » Origami » African Elephant
by Marc Kirschenbaum (NY)
£1989

6 Rabbi: ear bottom.
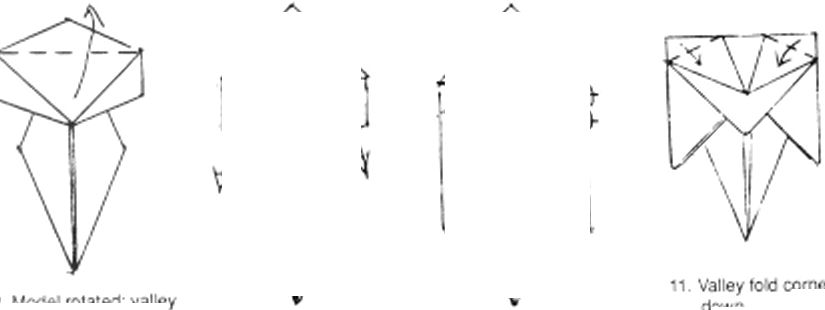
Model rotated: valley tow up.
9
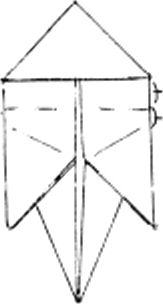
corners down
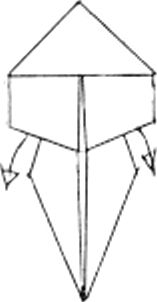
Pull down the two hidden points from top
10. Valley tele where indicated avoid creasing the center.
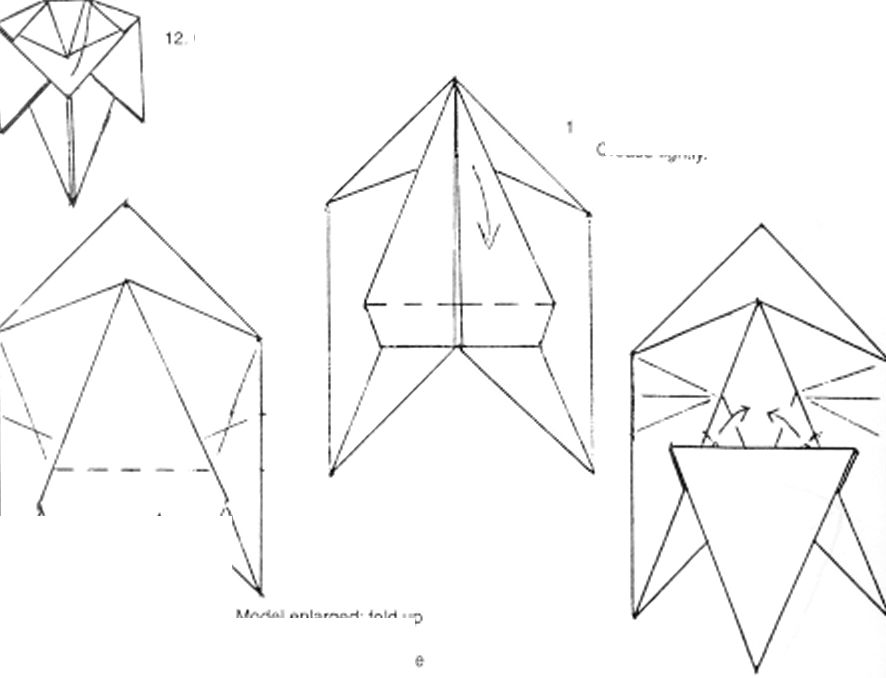
Open cut top to slop 10 and turn over.
M Valley fold point down Crease lightly.
A
/

13 Model enlarged; loid jp bottom nap so that its corners ke on top or the intersection of creases shown Having the bottom point touch the top is not as important
15 Form crimps by pulling cut paper Use the precreases as a guide
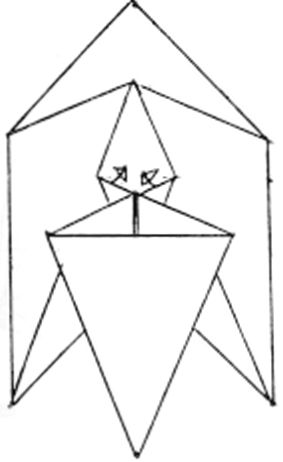
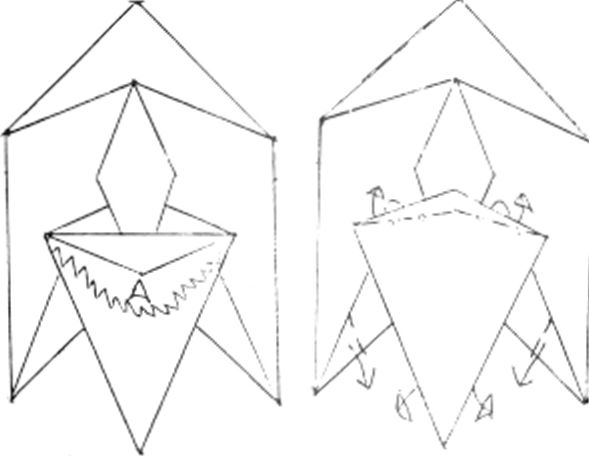
18 Precrease tcp nap along its argke bisector using mountain folds Full out pleats from bottom, forming new tods
17 Cutaway view: dose-sink the hidden flap out
16 Pu single top layer to the surface, essentially close-sinking the flaps formed m step 15.
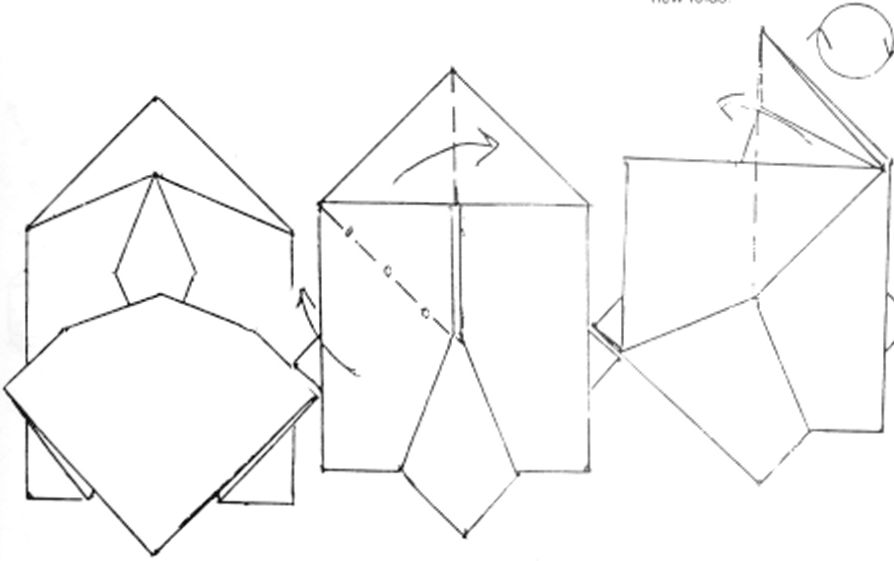
19 Step 18 compete. Turn over
2i Swing top over Repeal steps 20-21 on the other sde. Roíate model
20 Swing sde Over while p. ¿ng up the bottom
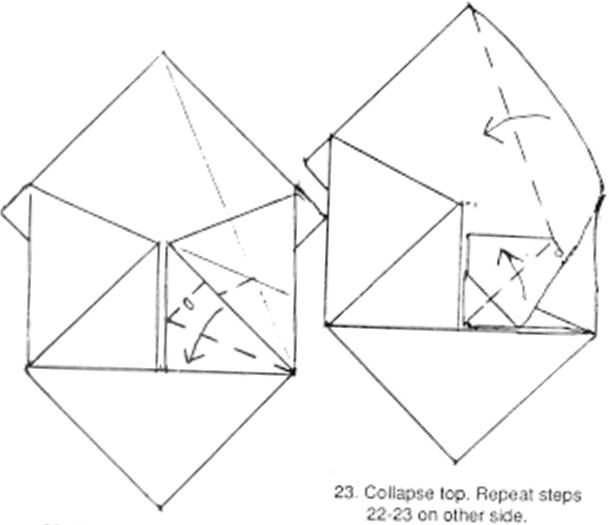
22 Model rotated: ‘orm a squasn by pulling (fown a layer, model will nor we flat
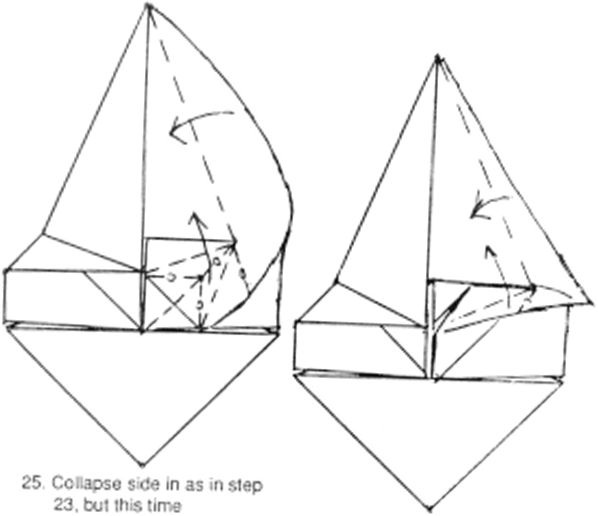
simultaneously pull up a single layer a'cng the folds indicated. Repeat steps 24-25 on the other sde
26 Step 25 halfway almost there—collapse the top single layers to complete.
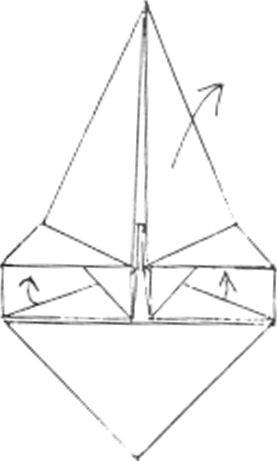
24 Bring lower single layers on sees to the surfaces: model should be opened slightly. On one see only, raise the top layer as *n step 23
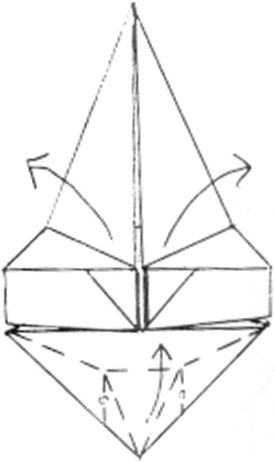
27 Collaps me bottom comer into a ~harf of a stretched brd base.' Raise the top comers slight y.
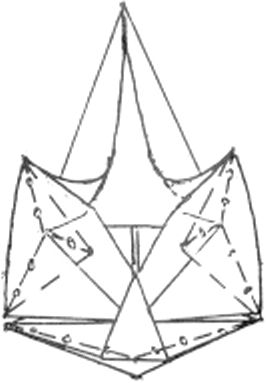
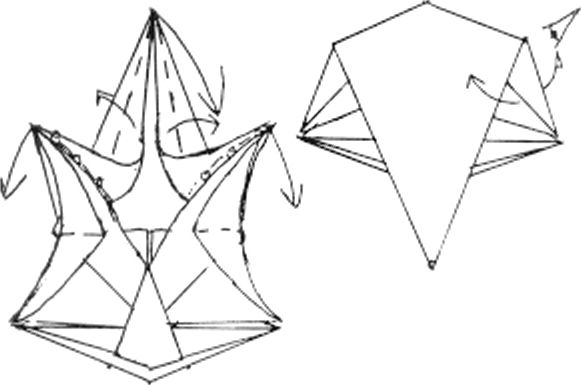
30 Spread apart sees o' flap
28 Mountain fold aiorxj upper layer of tail Make the s des convex by pushing in from behind. Add th« additional folds to facMate this. Do no flatten model yet.
29 Complete colapsing the model while adding the acc tonal folds shown While folding the top down, allow a smai porion ot the back to flip up
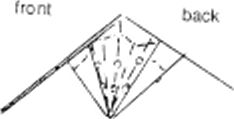
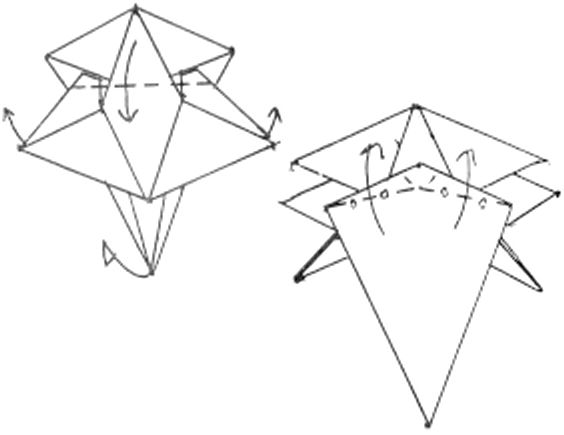
32 Model turned over and rotated swing the head section up The model will become slightly 3-c. and the teet should move slightly apart
33 Sice the head even further up by adding aod.tional mountain folds on the lop layer only Use foes from step 18
3t. Vhjw from step 30 cc’.iaps the tusks by inserting a pleat where indicated The remainder ot tne to os should form naturally Turn over
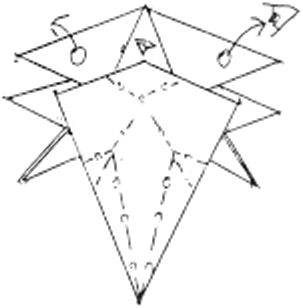
34 Shape head mtc a 3-d shape Form body into 3-0 py spreading cut the p^eat at the center of the body
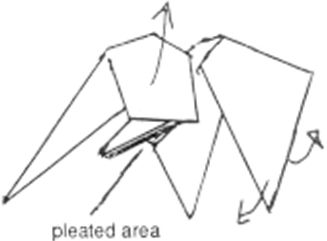
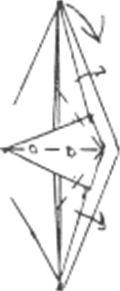
35 Raise nead by stretching the pleated area. Spreac apart the hind legs.
36. Bottom of hind leg slide the top layer onto the outer edge while pulling out tail and closing the legs
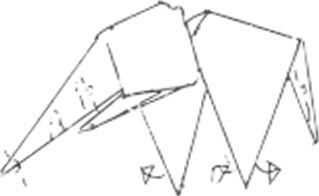
37 Crimp trunk and fold in its lip Shape tail Widen the feet by pulling out some of the pleated area of the back of the legs Add any additional shaping as necessary.
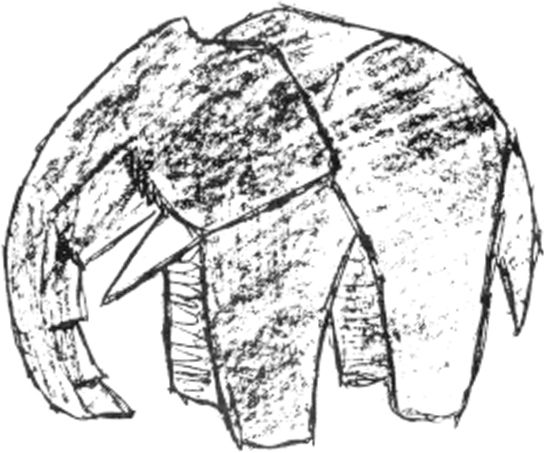
as Comp eted Ahican ElMiflDL
Download PDF file with this instructions for printing